Affordable Product Photography That Sells
Let's be honest—creating stunning product photos feels like it should cost a fortune. But it really doesn't have to. The secret to affordable product photography isn't about cutting corners; it's about being smart. By combining a few simple DIY tricks with the right gear and some clever AI tools, even a brand new to the scene can produce professional-level shots that actually sell.
Why Great Product Photos Are Non-Negotiable
In the crowded online marketplace, your product photos are doing the heavy lifting. They're the first handshake, the initial pitch, and the virtual window shoppers peer through. A great image can instantly build trust and help a potential customer see your product in their own life. It's what stops the scroll.
For anyone growing a business, the real struggle is getting that high-end look without the high-end price tag. The thought of a professional shoot—with all the studio time, photographers, and gear—can be overwhelming. But here's the good news: resourcefulness and new technology have completely changed the game. You can absolutely get premium results on a shoestring budget.
The Real Impact of Visuals on How People Buy
There’s a direct line connecting the quality of your photos to a customer's confidence in your brand. It’s not just about looking good. Clear, detailed, and appealing images are proven to drive buying decisions. In fact, for 67% of online shoppers, image quality is the single most important factor they consider before making a purchase. If you want to dive deeper, you can learn about the key benefits of product photography and see just how much visuals drive conversions.
When you nail your visuals, the benefits go way beyond pretty pictures. Brands with compelling imagery typically see:
- Higher Conversion Rates: Great photos are a shortcut to the "add to cart" button.
- Fewer Returns: When a photo accurately shows what the customer is getting, there are no surprises—and fewer returns.
- A Stronger Brand Vibe: Professional images make you look established and trustworthy, helping you punch above your weight.
The real goal is to do more than just show what a product looks like. It’s about telling a story and creating a feeling that resonates with your ideal customer. Affordable product photography gives you the power to do just that, without draining your bank account.
Key Pillars of a Budget-Friendly Strategy
To pull this off, you need to concentrate your efforts where they'll make the biggest difference for the least amount of cash. This guide is all about mastering three core pillars that, when combined, create a seriously effective and affordable photography workflow.
This table breaks down the three essential strategies we'll be focusing on. Each one plays a critical role in producing amazing visuals without the huge investment.
Key Pillars of Affordable Product Photography
| Strategy Pillar | Focus Area | Primary Benefit |
|---|---|---|
| DIY Studio Setup | Using everyday items and natural light to create a controlled photo environment. | Drastically reduces equipment costs while maximizing image quality and consistency. |
| Essential Techniques | Mastering fundamental photography principles like composition and lighting. | Elevates photo quality regardless of the camera, turning simple snapshots into professional shots. |
| Modern Technology | Integrating AI-powered editing tools for post-production and creative enhancements. | Saves significant time and money on editing, unlocking creative possibilities without technical skills. |
By getting a handle on these pillars, you'll be building a repeatable system for creating product photos that not only grab attention but also drive real growth for your business. It’s proof that you don't need a massive budget to make a massive impact.
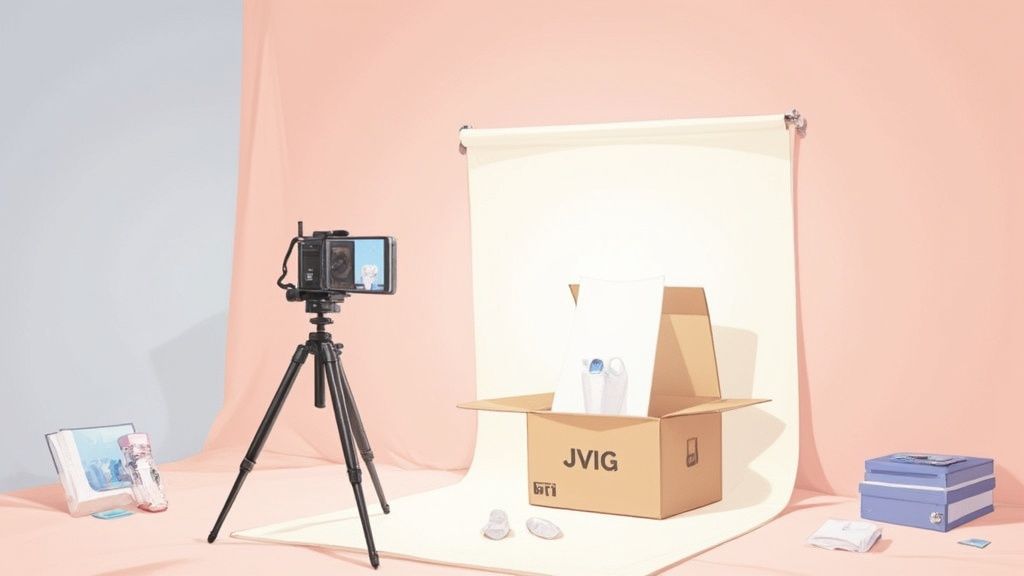
Build Your DIY Photography Studio Anywhere
You don't need a massive, dedicated studio to get professional-looking product photos. Honestly, some of the best and most affordable product photography I've seen comes from clever little setups built in the corner of an office or a living room. The real secret isn't dropping a ton of cash on gear; it's about controlling your environment with a few simple items.
And let's talk about the camera. The best one for the job is probably the one you already own. The cameras in today's smartphones are ridiculously good. When you combine that with some smart lighting and a steady hand (or a tripod), you can capture images that are more than sharp enough for any online store. So, forget the pressure to buy a high-end DSLR right now—your phone is the perfect place to start.
Harnessing Light and Space
Light is everything in photography. It's the one element that can make or break your shot. The good news is that you have access to a powerful, free, and incredibly flattering light source: a window. Natural light creates a soft look that's tough to get right with artificial lamps.
My go-to tip? Find a north-facing window if you can. It gives you soft, indirect sunlight all day long, which means you can avoid those harsh shadows that kill product detail.
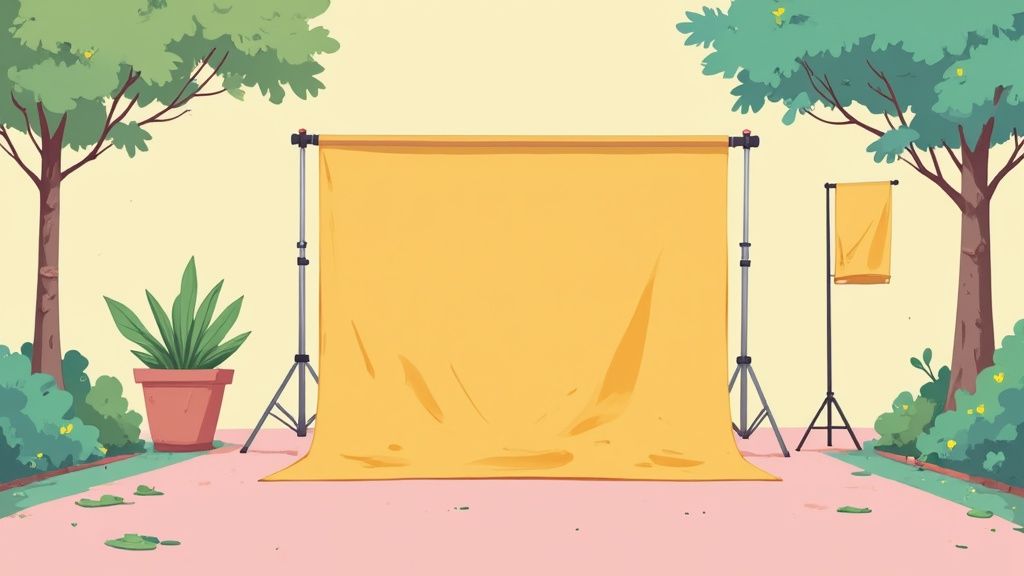
Once you've got your light, you need a backdrop—a stage for your product. You can create a clean, seamless background for just a few dollars.
- Poster Board: A classic for a reason. Grab a sheet of white poster board and gently curve it from a wall down onto a table. This creates a "sweep" that eliminates that distracting line where the table meets the wall.
- Wallpaper Samples: If you want to inject some personality, go to a hardware store and look at large wallpaper samples. They come in endless textures and colors and can add a branded feel to your shots.
This little infographic shows just how simple an effective DIY setup can be.
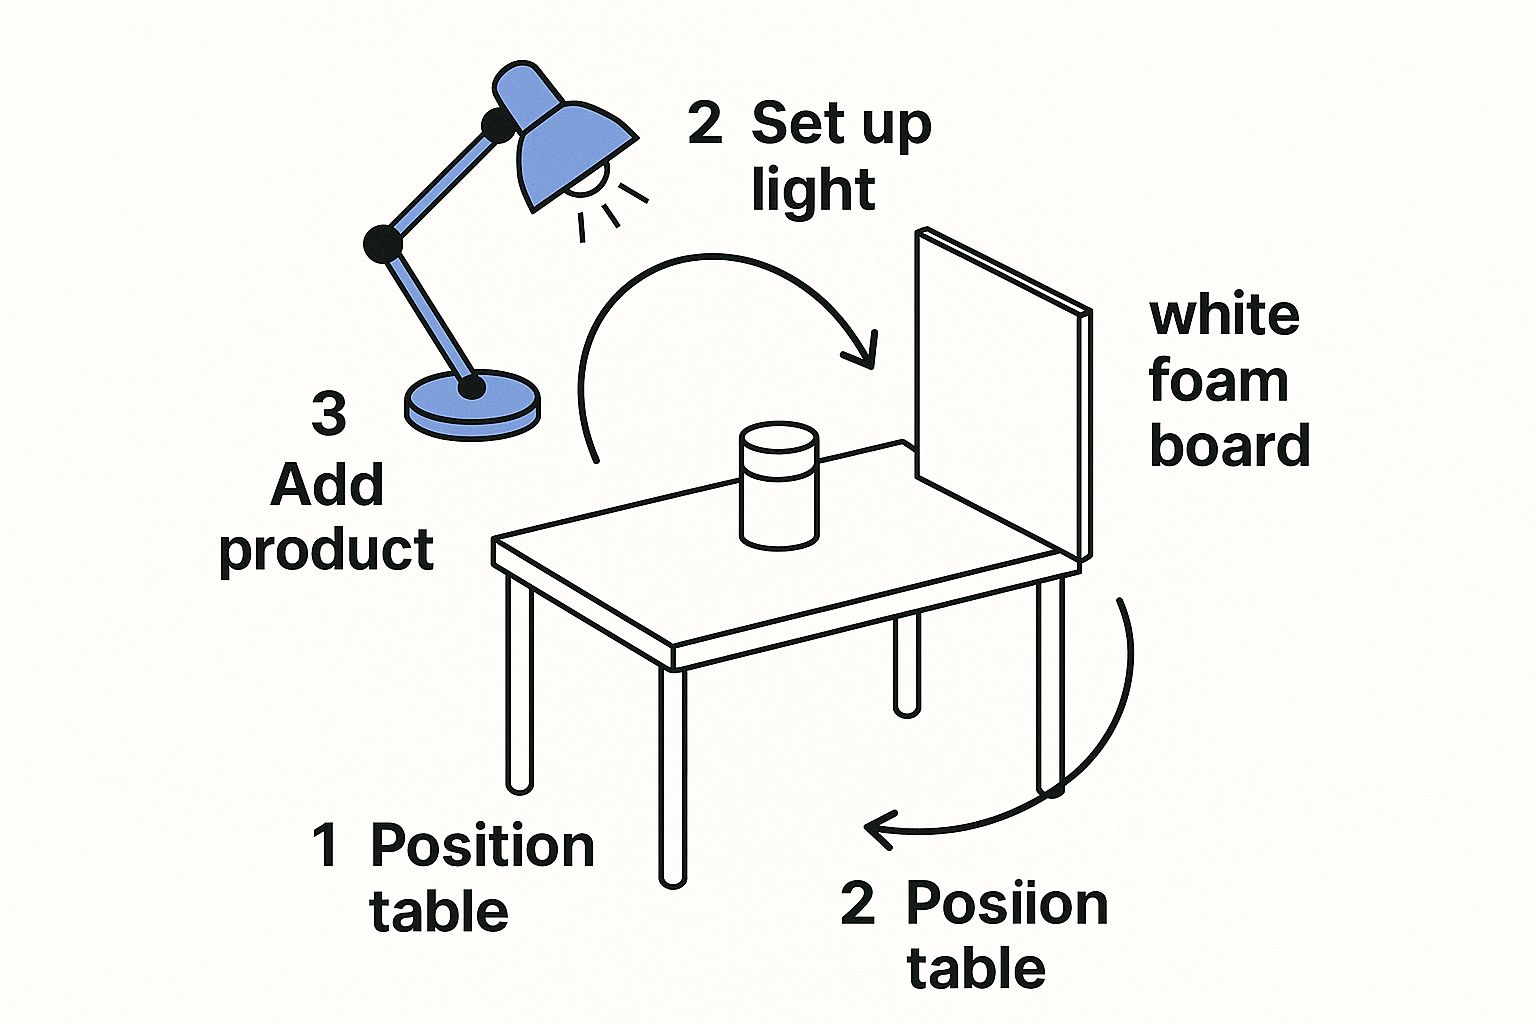
See? It’s amazing what you can accomplish with a desk lamp and a piece of foam board. It proves you don't need a complicated, expensive studio to get great results.
Crafting Your Own Light Modifiers
Even with perfect natural light, you'll want to shape it to really make your product pop. This is where light modifiers come in, and you absolutely don't need to buy them. The whole point is to soften bright light and fill in dark shadows, which gives your product depth and makes it look three-dimensional.
The biggest mistake I see beginners make is thinking they need more light. What they actually need is better-controlled light. Learning how to bounce and diffuse light is the skill that will elevate your photos from amateur to professional.
Let’s start with two homemade tools you can’t live without:
- A Reflector: This is as simple as a piece of white foam core or even a clean sheet of printer paper. Just place it opposite your light source (like your window) to bounce light back into the shadows on your product. It’s a game-changer for brightening up dark spots and revealing detail.
- A Diffuser: If the light is too direct and creating harsh shadows, you need to soften it. Taping a sheet of parchment paper over a lamp or even directly on the window pane will spread the light out evenly. This creates those gentle, soft-edged shadows you see in professional shots.
If you're ready to build out your own complete photo station, check out our guide on putting together a DIY product photography setup. Getting these basics down is the foundation for creating consistently beautiful images that will make your products fly off the virtual shelves.
Master Essential Product Photography Techniques
It’s a common misconception that you need expensive gear to get great photos. The truth? Your technique is what really counts. Mastering a few core principles is what transforms a simple snapshot into a compelling product showcase, and it's the foundation of any affordable product photography strategy. It’s not about the camera you own, but how you use it to tell your product's story.
A simple shift in your approach can make all the difference. Before you even pick up the camera, stop and think like a storyteller. Where do you want the viewer's eye to go? What's the most important feature to highlight? Answering these questions first will guide every decision you make about composition and lighting.
This focus on skilled photography isn't just a nice-to-have; it's becoming essential. The global eCommerce product photography market was valued at around USD 1 billion and is on track to double by 2033. This explosion shows just how critical high-quality images are for driving sales. If you're curious, you can discover more insights about the eCommerce photography market and its impact.
Guide the Viewer with Smart Composition
Composition is simply the art of arranging everything in the frame to create a balanced, visually appealing image. It’s how you purposefully direct attention to your product's best features.
Two classic rules can instantly level up your photos:
- Rule of Thirds: Picture a 3x3 grid over your screen. Instead of dead-centering the product, try placing it along one of the lines or where two lines intersect. This simple trick makes the shot feel more dynamic and engaging.
- Leading Lines: Look for elements in your scene—the edge of a table, a pattern on a prop, even a shadow—that create lines. If you can point those lines toward your product, you're literally guiding the viewer's eye right where you want it.
These aren't rigid laws, but they're a fantastic starting point for creating more professional-looking shots without spending a dime.
Good composition makes the viewer's journey through your image feel natural and effortless, leading them straight to the most important part—your product.
Shape Your Light and Angles
Even with a single light source, you can create incredible depth and drama. A great place to start is by placing your light to one side of the product, at about a 45-degree angle. Then, grab a cheap white foam board and place it on the opposite side to bounce light back, softening any harsh shadows. This one move prevents the flat, boring look you get from direct, front-on lighting.
Camera angles also play a massive role in telling the full story of your product.
- Straight-On: This is the classic, eye-level shot that shows the product as a customer would normally see it. It’s perfect for clearly displaying labels and branding.
- 45-Degree Angle: Shooting from this angle introduces a sense of depth and dimension, showing both the front and side of the item. It’s fantastic for showcasing the product's overall form.
- Top-Down (Flat Lay): This angle, shot from directly above, is ideal for arranging multiple items, showing the contents of a package, or highlighting interesting textures.
By mixing and matching these simple lighting and angle adjustments, you can build a diverse gallery of images that gives customers a complete and compelling view of what they’re buying. For a much deeper dive into framing and capturing your products effectively, check out our detailed guide on how to take professional product photos.
Create an Efficient Post-Production Workflow
Shooting the photo is just the first half of the job. The real magic, where good photos become great, happens in post-production. The raw image straight out of your camera is a starting point, but editing is where you polish it, fix tiny imperfections, and make sure every single shot feels like your brand. This is a non-negotiable step in creating affordable product photography that actually looks professional.
The good news? You don't need a pricey Adobe subscription to get amazing results anymore. It's all about building a repeatable workflow that saves you time and makes your images shine without blowing your budget. By smartly combining powerful free software with a few game-changing AI services, you can knock this out efficiently.
Free and Low-Cost Editing Tools
For the essential tweaks, free software has gotten ridiculously good. Tools that were once pale imitations of Photoshop now pack a serious punch. I often recommend starting with something like GIMP (a downloadable classic) or the browser-based Photopea, which feels shockingly similar to Photoshop and requires no installation.
These programs are perfect for the foundational edits every photo needs:
- Color Correction: This is about getting the white balance right so your product’s colors look accurate on screen. Nobody wants to buy a "sky blue" shirt that shows up looking teal.
- Exposure and Contrast: You’ll want to brighten the whites and deepen the darks just enough to make the product stand out without looking unnatural.
- Basic Retouching: A quick pass to remove that one speck of dust you didn't see or a minor scuff on the background.
Getting comfortable with these basics in a free editor sets you up for success. It ensures your photos are clean and color-accurate before you move on to the more exciting stuff.
An efficient workflow isn't about having the most expensive software; it's about knowing which tool to use for which job. I always tell people to handle basic corrections in a free editor, then let AI do the heavy lifting. It's the smartest, most cost-effective way to work.
The Power of AI in Post-Production
Okay, this is where things get really exciting, especially if you're on a tight budget. AI-powered editing services are fundamentally changing how we approach post-production. They automate the tedious tasks that used to take me hours of painstaking work in Photoshop. For small brands, this is a massive advantage.
Let's say you shot 50 products on a simple white poster board. The old way involved manually tracing around every single product to cut out the background. With an AI tool, you can do it almost perfectly in a few seconds per image. Suddenly, you have a whole library of assets ready to go.
These services are absolute masters at tasks like:
- Instant Background Removal: This gives you a clean, transparent background, so you can drop your product onto any color, ad, or social media post.
- Realistic Shadow Generation: A product floating in space looks fake. AI can add a subtle, natural-looking shadow that gives it weight and makes it feel grounded.
- Lifestyle Scene Creation: This is the big one. You can take your isolated product and place it into a professional lifestyle photo—a kitchen counter, a bathroom shelf, you name it. It looks like you paid for a full-day photoshoot.
Weaving these AI tools into your process is the ultimate shortcut. It slashes your editing time and gives you a massive volume of polished, market-ready images. This is what truly makes professional-grade, affordable product photography possible for everyone.
Find Affordable Photography Services That Deliver
While the DIY approach gives you incredible control and saves a ton of money, there are times when outsourcing is just the smarter play. Maybe you're scaling up and simply don't have the time, or you’re dealing with a product that's notoriously tricky to shoot well (think jewelry or anything reflective). In these cases, hiring a professional is a strategic investment, not just an expense.
The real trick is finding affordable product photography services that deliver professional-grade results without completely blowing your budget. It's about knowing where to look and what to ask so you can find the right fit for your brand and your wallet.
Freelance Platforms vs. Specialized Studios
So, where do you start looking? Your first big decision is whether to go with a freelancer or a dedicated studio.
Platforms like Upwork or Fiverr are swarming with photographers at every conceivable price point. This can be a fantastic option if you just need a few killer shots for a new product and want to stay flexible. The catch? Quality can be all over the map, so you absolutely have to do your homework and scrutinize every portfolio.
On the other side of the coin are specialized product photography studios. These folks live and breathe e-commerce imagery. They’re like a finely tuned machine, often offering package deals that are perfect if you have a large catalog that needs a consistent, uniform look. You’ll almost always get a reliable, streamlined process, though you might sacrifice some of the creative back-and-forth you'd get with a one-on-one freelancer.
Key Questions to Ask Before Hiring
Getting the right person for the job really comes down to asking the right questions. Before you sign anything or send a deposit, make sure you have clear answers to a few key points. This isn't about being difficult—it's about avoiding nasty surprises down the road.
Use this checklist to feel out any photographer or studio you're considering:
- How do you price your work? "Is it per photo, per hour, or a flat project fee?" A per-photo rate is usually the most straightforward for budgeting.
- What's your revision policy? "How many rounds of edits are included?" You need to know this upfront to avoid getting billed for small tweaks later on.
- What are the usage rights? "Can I use these images everywhere, forever?" Always push for full commercial rights so you can use the photos on your website, social media, and ads without any strings attached.
- What’s the turnaround time? "How long will it take to get the final photos for a project my size?" This is critical for timing your marketing and launch calendars.
It's also helpful to understand what's happening on their side of the table. Recent data shows that photographers are feeling the squeeze. Nearly 25% have seen their business costs jump by 6-10%, and over 46% say that simply finding clients is a major struggle. You can read the full research about photography industry challenges for more context. This pressure can affect their pricing, but it also means many talented photographers are hungry for good, steady clients like you.
A photographer's portfolio shows you their best work. Their answers to these questions show you their professionalism. Clear, direct answers are a great sign you've found a reliable partner.
Common Questions About Product Photography
Diving into affordable product photography always brings up a few key questions. If you're just getting started or trying to improve your current setup, getting some straight answers can be a huge help. Let's walk through some of the things I get asked most often.
A lot of new e-commerce sellers worry that they need a big, expensive DSLR to get the job done right. The truth is, the best camera is usually the one you already have.
Can I Really Get Professional Shots with Just a Smartphone?
You absolutely can. Modern smartphone cameras are fantastic, but the real secret isn't the camera—it's controlling your environment.
The first thing you need is a mini-tripod. It’s non-negotiable. This simple tool is what gives you that crisp, stable shot and gets rid of the hand-held blur that instantly marks a photo as amateur.
Once you have that, find some soft, natural light from a window. That's your best friend. Combine that with your phone’s gridlines for better composition, and you're already 80% of the way to a great photo. If you want to take it a step further, look into mobile editing apps like Lightroom. Many let you shoot in RAW format, which gives you way more control and flexibility when you start editing. Your phone is more than capable of producing images that will look fantastic on your website and social feeds.
What’s the Single Most Important Thing for Better Photos?
Lighting. It's always lighting. Nothing else comes close to impacting the clarity, color, mood, and even the texture of your product. You could have a $5,000 camera, but if your lighting is bad, your photos will look flat and cheap.
On the flip side, I've seen incredible images taken with a basic smartphone simply because the light was perfectly controlled. Before you even think about buying a new camera, learn how to shape light. Understanding how to use simple diffusers (even a white sheet will do!) and reflectors to soften harsh light and fill in ugly shadows is the most valuable skill you can build.
So many people think they need more light, but what they really need is better light. It's all about controlling and shaping your light source. That's the key that unlocks professional-looking images, no matter what gear you're using.
When Does It Make Sense to Use an AI Photo Service?
This is where things get really efficient. AI photo services are a fantastic tool when you need to scale up, create a ton of marketing images, or just don't have the time (or desire) to become a Photoshop expert. They've become a core part of a modern, affordable product photography workflow.
Here are a few situations where an AI tool is the perfect fit:
- You Have a Lot of Products: If you need hundreds of product shots on a clean, consistent white background for your online store, an AI tool can get it done in minutes. A human editor would take days.
- You Need Creative Marketing Shots: AI is a dream for creating lifestyle mockups without the insane cost of a photoshoot. You can drop your product into a cozy kitchen scene, a sleek office, or a rustic outdoor setting to show customers how it fits into their lives.
- You Need to Move Fast: When you're launching a new product, speed is everything. AI delivers consistent, high-quality results every single time, making sure your brand looks polished and professional from day one.
For anyone who needs speed, consistency, and creative options on a tight budget, bringing an AI service into your process is one of the smartest things you can do.
Ready to transform your product photos without the hassle of a traditional photoshoot? QuickPixel uses AI to turn your simple pictures into studio-quality images. Create your professional product photos today.
Try QuickPixel Today
Get started with our AI-powered image generation tools