How to Take Professional Product Photos at Home in 5 Easy Steps
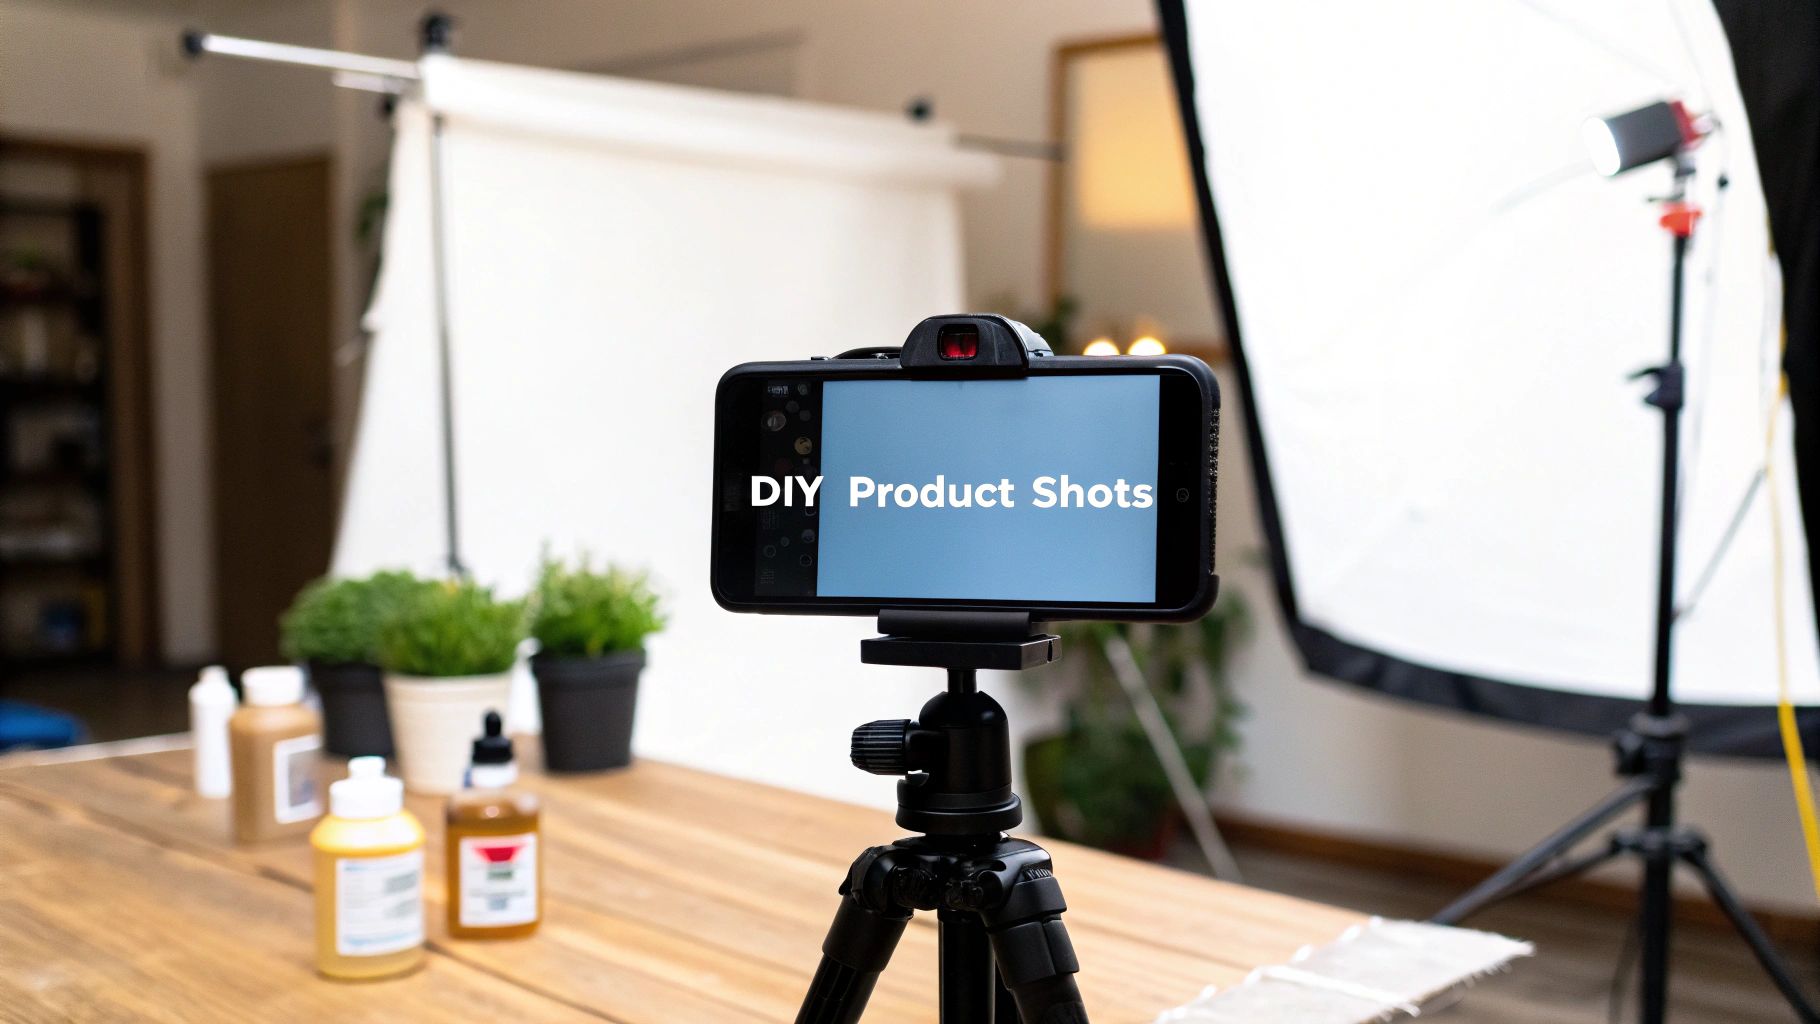
You can absolutely take incredible, professional-grade product photos right from your home. It all comes down to mastering just three things: your camera, your lighting, and your background. Forget the expensive studio—you can get stunning results with a smartphone, a window, and a simple roll of white paper.
Building Your At-Home Photography Studio
The phrase "home studio" probably conjures images of complicated lights and expensive equipment, but let's reframe that. Building a space for product photos is less about spending money and more about being resourceful. You can pull together a surprisingly effective setup with things you already own or can get for next to nothing.
The real goal isn't to mimic a high-end commercial studio. It's about controlling your environment to get clean, consistent, and high-quality shots every single time. This mindset not only saves you a ton of cash but makes professional photography accessible to everyone, from a new Etsy seller to a growing e-commerce brand.
Your Camera is Already in Your Pocket
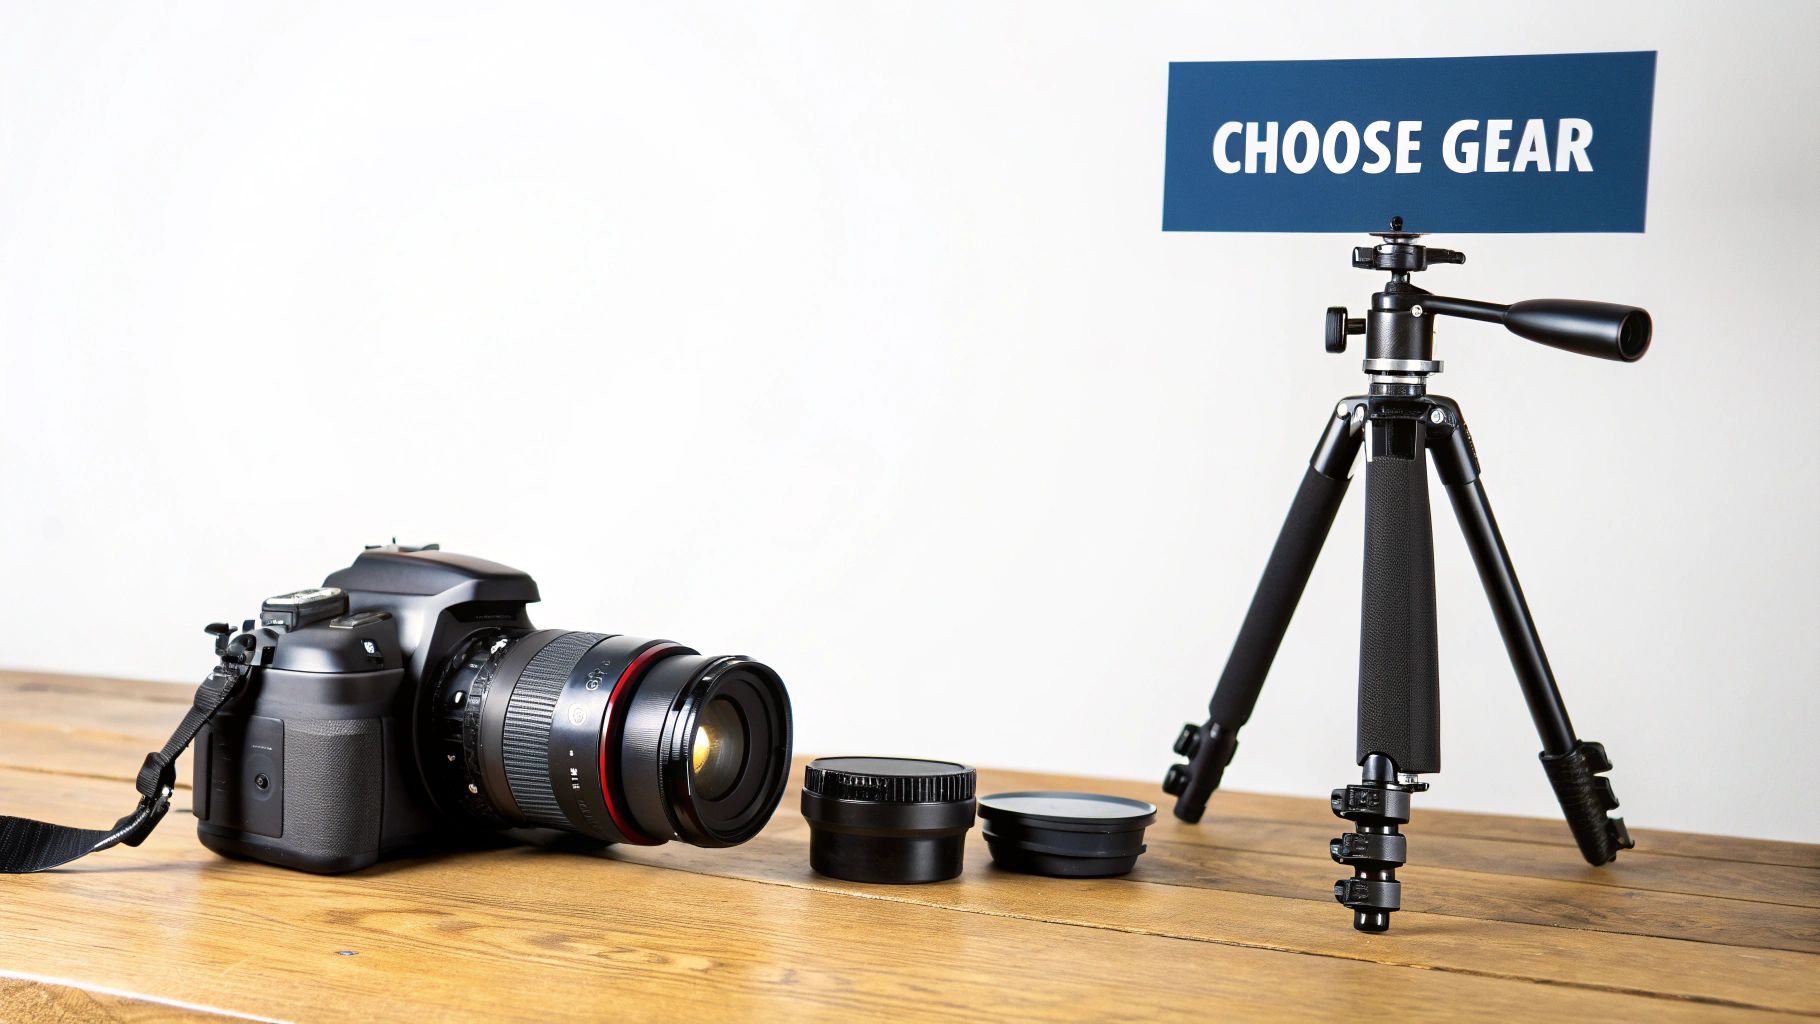
Let’s get one of the biggest myths out of the way immediately: you do not need a thousand-dollar DSLR to get started. The camera on your smartphone is more than powerful enough. Seriously.
Modern phone cameras have incredible high-resolution sensors and intelligent software that produce images sharp enough for any website or social media feed. Many even have features like a "portrait mode" that can beautifully blur the background, making your product the undeniable hero of the shot. Plus, the simplicity is a huge win. You can set your focus, tweak the brightness, and snap a picture in seconds, which keeps the whole process from feeling overwhelming.
The Unsung Hero: A Sturdy Tripod
Your camera is important, sure, but a tripod is the true secret weapon for getting those tack-sharp, professional-looking photos. Even if you think you have the steadiest hands in the world, there's always a tiny bit of movement that creates a subtle, almost imperceptible blur. A tripod eliminates that problem entirely.
It also introduces something incredibly valuable: consistency. By locking your phone into a fixed position, you can photograph a dozen different products from the exact same angle and distance. This is how you create that clean, cohesive look across your entire online store. You don't need anything fancy; just find a basic tripod that comes with a smartphone mount. It’s a small investment that will instantly level up your photos.
A tripod does more than just hold your camera steady; it enforces discipline and consistency in your workflow. That consistency is the foundation of a professional-looking product catalog.
Creating a Flawless Backdrop
The background has one job: make your product look amazing. It should never, ever compete for attention. That's why a simple, clean, and distraction-free backdrop is non-negotiable. Luckily, this is easy and cheap to achieve.
Here are a few of my go-to, budget-friendly options that work like a charm:
- White Poster Board: For just a few bucks, you can grab a big sheet of white poster board. Just tape it to a wall and let it curve down onto your table or floor. This creates a seamless "infinity sweep" with no hard lines or corners to distract the eye.
- Roll of Craft Paper: This is another great one. A big roll of white or neutral-colored paper gives you a perfectly clean surface you can just roll out whenever you need it.
- Textured Fabric: If you're going for more of a lifestyle vibe, a piece of neutral linen or simple cotton fabric can add a bit of soft, organic texture without being overpowering.
No matter what you choose, the goal is the same: find something that complements your product and your brand's aesthetic without stealing the show. Nailing this simple setup is one of the biggest first steps you'll take toward photos that don't just look good, but actually sell.
Getting the Lighting Just Right for Flawless Product Shots
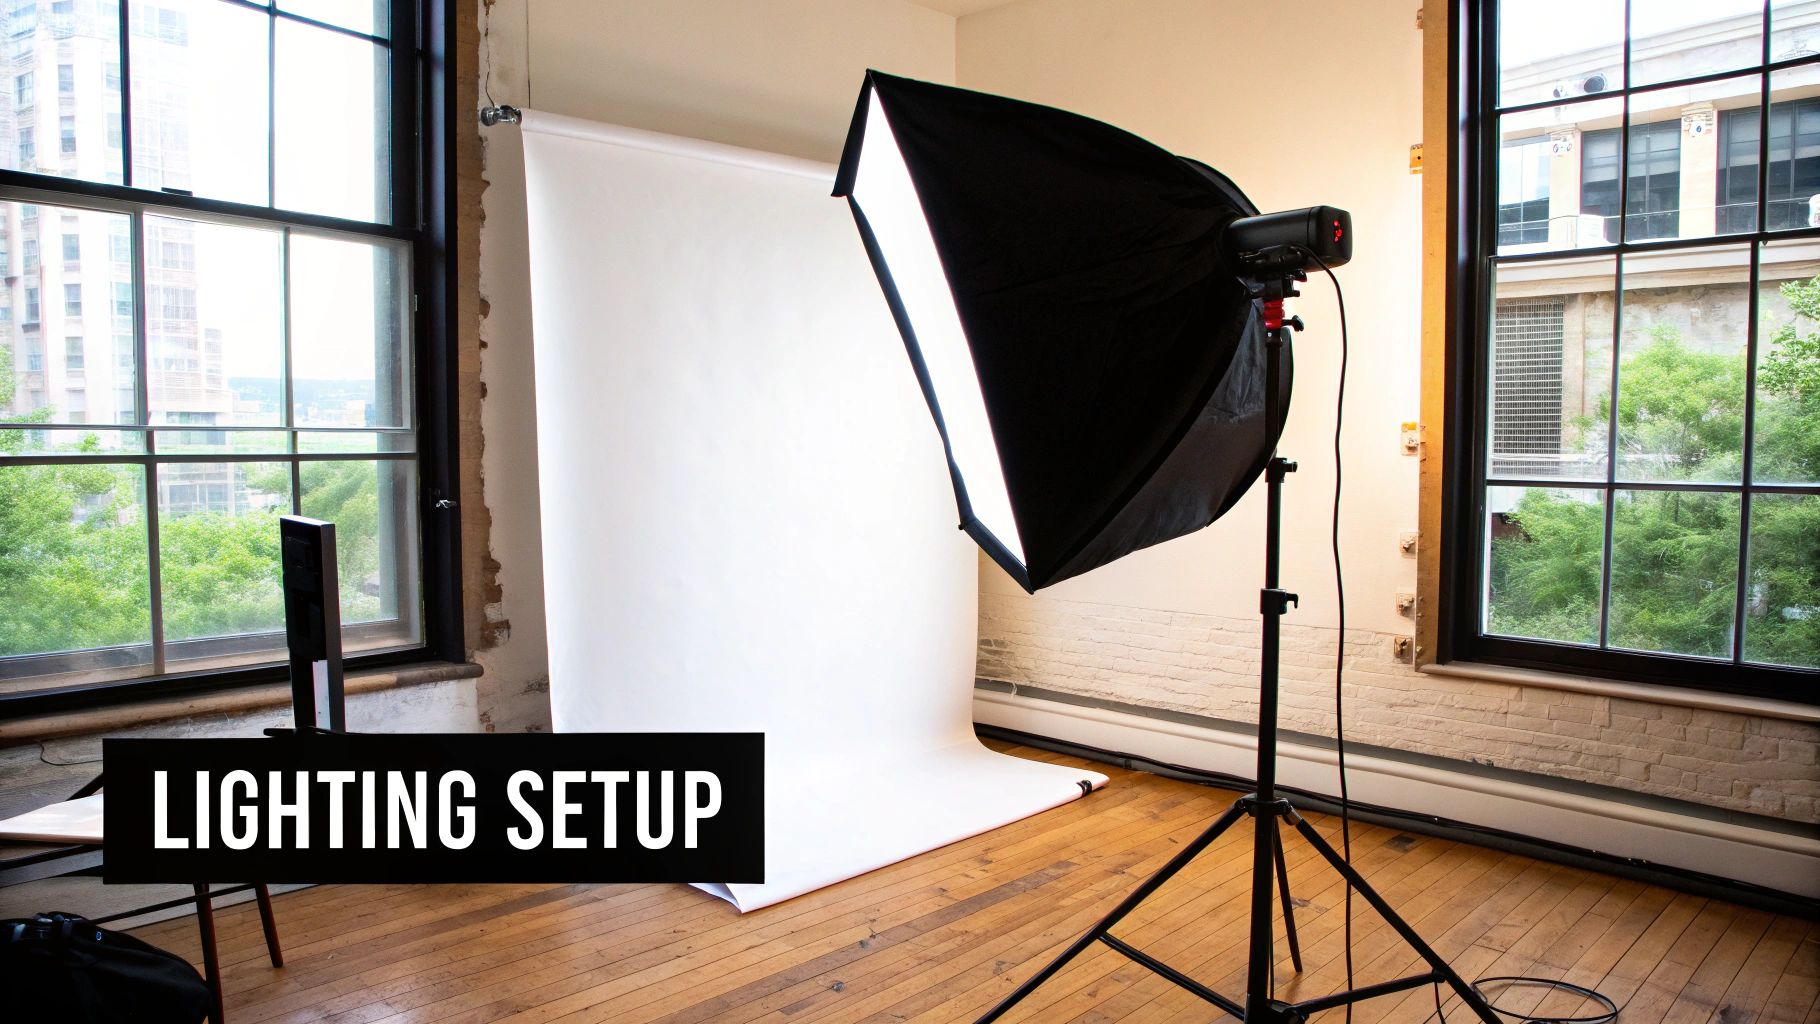
If there's one thing that can make or break your product photos, it's lighting. I can't stress this enough. Forget the expensive camera for a moment; how you light your product is what truly makes it look its best.
Get it wrong, and you're stuck with ugly shadows, weird color casts, and a product that looks cheap, no matter how amazing it is in person. But once you understand how to shape and control light, you'll be taking crisp, clean photos that actually drive sales. It’s the secret ingredient that separates an amateur snapshot from a professional, compelling image.
Using Natural Window Light
Believe it or not, your best and most affordable light source is probably just a few feet away: a window. Natural light is soft, full, and shows colors just as they are.
The trick is to place your setup next to a large window, not directly in front of it. This simple positioning creates a gentle, directional light that beautifully reveals your product's shape and texture.
Direct, harsh sunlight is your enemy here. It creates hard, distracting shadows. That's why a slightly overcast day is a gift for photographers—the clouds act as a massive, natural diffuser, softening the light for you. If the sun is just too bright, hang a thin white sheet or even some parchment paper over the window to create the same effect.
The goal here is soft, even illumination that wraps around your product. Whatever you do, never use your camera's built-in flash. It creates a flat, harsh look that instantly screams amateur.
The Simple Power of a Bounce Card
So you’ve got your main light source set up. You’ll probably notice that one side of your product is perfectly lit, while the other is lost in shadow. The fix is surprisingly simple: a bounce card. It's just a fancy name for anything white that can reflect, or "bounce," light back into those dark spots.
You don't need to buy anything special. A piece of white foam board from a craft store or even a clean sheet of printer paper will work wonders.
- Positioning: Just place the foam board on the side of your product opposite the window.
- Angle: Start tilting it toward your product. You'll literally see the shadows soften and brighten up right before your eyes.
- The Result: This one small move fills in the dark areas, giving your product a balanced, dimensional, and far more professional look.
This is my favorite DIY trick because it instantly elevates your photos without costing a dime.
Controlling Light with an Artificial Setup
While natural light is incredible, it’s not always reliable. For those late-night shoots or just for consistent results every single time, an artificial lighting setup is the way to go.
Investing in good lighting isn’t just a nice-to-have; it's becoming essential. With the global photography services market valued at $55.6 billion in 2023** and projected to hit **$81.83 billion by 2032, it’s clear that businesses are banking on high-quality visuals to stand out. You can dive deeper into the key trends of the photography industry and its market growth on imageretouchinglab.com.
The classic pro setup is called three-point lighting, and it gives you total command over how your product looks. Here’s a quick breakdown:
- Key Light: This is your main event, the brightest light in your setup. Place it at a 45-degree angle to your product to establish the primary look and feel of the shot.
- Fill Light: This one goes on the opposite side. Its job is to fill in the shadows created by the key light. You’ll want it to be softer and less intense to keep some of that nice depth.
- Back Light: Sometimes called a rim light, this is placed behind your product (and often above it), pointing back toward it. It creates a subtle, glowing outline that separates the product from the background, making it pop right off the screen.
You don't need to buy three expensive studio strobes to get started. A couple of affordable LED panels can easily work as your key and fill lights. In fact, you can often get away with just one light and use a simple bounce card as your fill. The real skill is in experimenting with the position and intensity of your lights until you find a look that really makes your product shine.
Composing Images That Actually Convert
So, you've nailed the lighting and found the perfect background. You're halfway there, but let's be honest—a technically flawless photo that's boring won't sell anything. The final, crucial piece of the puzzle is composition.
This is the art of arranging everything in the frame with purpose. It’s where you switch from thinking like a camera operator to thinking like an art director, guiding your customer's eye right where you want it to go. Good composition transforms a simple picture into a visual story that hooks your audience and nudges them toward the "buy" button. It’s all about creating balance, energy, and a clear point of focus.
Applying the Rule of Thirds
One of the easiest yet most powerful principles in photography is the Rule of Thirds. Just imagine your frame has a tic-tac-toe grid laid over it. Now, instead of plunking your product dead-center, you place it along one of the lines or where two lines intersect.
That one small change makes a world of difference. It creates a more natural, dynamic composition that feels less staged. When the main subject is off-center, the viewer's eye has to move around the image, making it far more engaging.
Almost every smartphone camera has a grid setting you can switch on. I highly recommend using it. It’s a fantastic training wheel until placing things off-center becomes second nature.
Don't just show your product; present it. The Rule of Thirds helps you move from simply documenting an item to creating a compelling scene that draws the customer in.
Choosing Angles That Tell a Story
The camera angle you pick can completely change the story your product tells. Different angles highlight unique features and stir up different emotions, so mixing it up in your product listings is non-negotiable.
Here are the three must-have shots I always get:
- The Straight-On Shot: This is your hero image, the one that does the heavy lifting. It's an eye-level view that presents the product clearly and honestly. This shot is perfect for your main thumbnail because it builds instant trust and answers the customer’s most basic question: "What does it actually look like?"
- The Flat Lay (Overhead Shot): For this, position your camera directly above everything. It's brilliant for showing all the components in a kit, creating beautifully organized arrangements, or styling your product in a lifestyle scene.
- The Detail Shot: Get in close. Really close. This is your chance to show off the craftsmanship—the texture of the fabric, the precision of the stitching, the quality of the materials. Detail shots are what justify a higher price point and build unshakeable confidence in your product's quality.
Using Props to Create a Narrative
Props are your secret weapon for building a world around your product. They help customers visualize it in their own lives, which is a huge step toward making a sale. But there's a catch: they must be used with intention. A prop should always support the product, never steal the spotlight.
For instance, shooting a premium leather watch next to a vintage hardcover book and a cup of coffee suggests a sophisticated, thoughtful lifestyle. It tells a story about the kind of person who wears that watch.
Think about your target customer. What kind of life do they lead or aspire to? Choose props that fit that vision. And remember, less is more. A single, well-placed prop is always more effective than a cluttered, distracting scene. When you arrange every element with a clear purpose, your photos will do more than just display a product—they’ll forge a connection that drives a purchase.
Editing Your Photos for a Professional Finish
The camera captures the raw material, but the real magic happens in post-production. Don't think of editing as faking it; think of it as the final polish that makes your product look its absolute best. It’s about making subtle tweaks that elevate a good photo into a great one, building a trustworthy, professional brand image in the process.
This is your final quality check before the product goes live. Simple adjustments can correct colors to perfectly match the real item, brighten up a dimly lit shot, and erase tiny, distracting dust spots. The goal is to show your product in its best light, ensuring what customers see online is exactly what they’ll get.
Getting your setup right from the start, as this infographic shows, makes the editing stage so much easier.
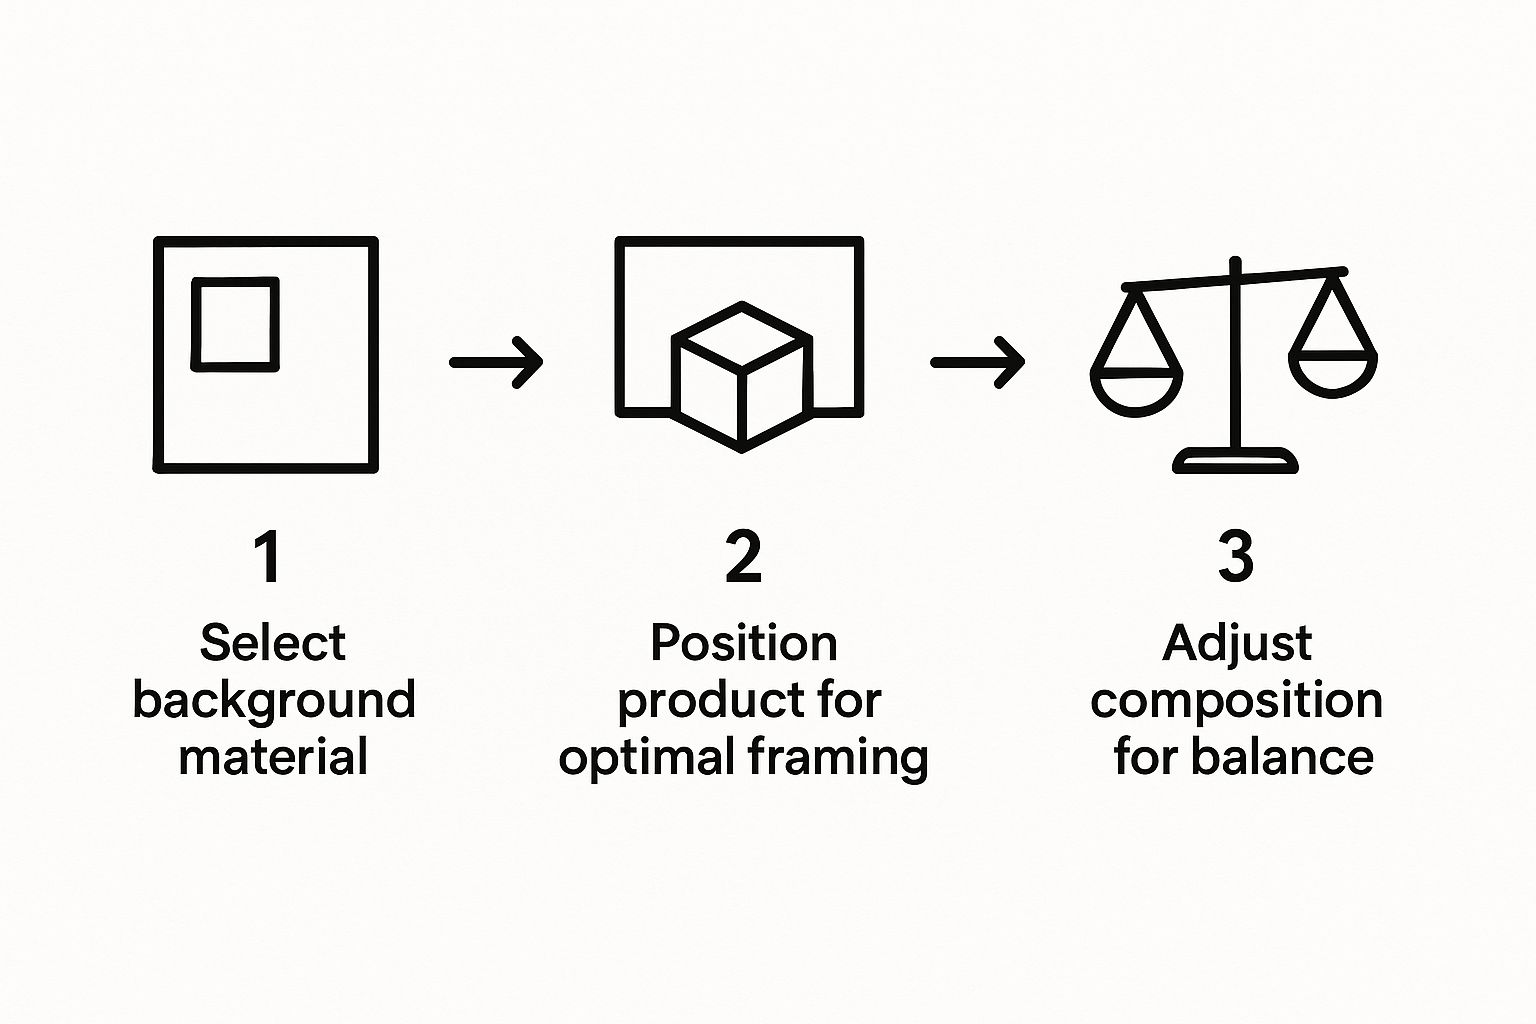
When you standardize your background and composition before you even click the shutter, you’re creating a consistent visual foundation. That consistency saves a ton of time later on.
Your Essential Editing Checklist
It's easy to get overwhelmed by all the sliders and options in editing software. The good news? You only need to master a few key adjustments to see a massive improvement. This core workflow is the same whether you're using a powerful tool like Adobe Lightroom or a free alternative like GIMP.
Here are the four non-negotiable edits I apply to almost every product shot:
- Crop and Straighten: First things first, get your alignment right. A slightly crooked product or horizon line just looks unprofessional. Use the gridlines in your software to make sure everything is perfectly straight and centered.
- Adjust Exposure and Contrast: Is the photo a little too dark or looking a bit flat? A gentle bump in exposure can brighten the whole image, while a touch of contrast will make the details really pop.
- Correct White Balance: This is absolutely crucial for color accuracy. If your "white" background has a yellow or blue tint, your product's colors will be off, too. Use the white balance tool to neutralize the background, which ensures the product color is true to life.
- Sharpening: A little bit of sharpening can bring out fine details, like the texture of fabric or the glint on a piece of metal. Just be careful not to overdo it—too much sharpening creates a grainy, unnatural look.
Editing is about enhancing reality, not faking it. The best edits are the ones nobody notices—they just make the product look clean, crisp, and desirable.
Choosing Your Product Photo Editing Software
Not all software is created equal. The right tool depends on your budget, skill level, and the features you need most. To help you decide, here’s a quick comparison of some of the most popular options out there.
| Software | Best For | Key Features | Pricing Model |
|---|---|---|---|
| Adobe Lightroom | Amateurs to Pros needing powerful organization and batch editing. | Non-destructive editing, cloud storage, powerful presets, mobile app. | Subscription |
| Adobe Photoshop | Professionals needing detailed retouching and composite images. | Advanced layering, clone stamp, content-aware fill, extensive tools. | Subscription |
| GIMP | Hobbyists and beginners on a tight budget. | Open-source, customizable interface, good range of basic editing tools. | Free |
| Canva | E-commerce sellers needing quick, easy edits and graphics. | Drag-and-drop interface, templates, background remover, text overlays. | Freemium |
| Pixlr | Quick online edits without software installation. | AI-powered tools, simple interface, browser-based and mobile apps. | Freemium |
Ultimately, the best software is the one you feel comfortable using. I recommend trying out the free versions or trials of a few to see which workflow you prefer before committing.
Removing Distractions and Blemishes
Even with the cleanest setup, tiny imperfections will sneak into your shots. A speck of dust on the lens, a stray thread on a garment, or a small, distracting reflection can pull the viewer's eye away from what's important.
This is where your spot removal or clone stamp tool is a lifesaver. In most software, you can just click on the blemish, and the tool will intelligently cover it up using pixels from the surrounding area. It's a simple cleanup that takes just a few seconds but makes your final image look infinitely more polished.
Creating Consistency with Batch Editing
Editing one photo is one thing. Editing fifty is another. When you have a whole catalog of products to shoot, batch editing will become your secret weapon.
Once you’ve perfected the look on one "hero" image from your shoot, you can save all those adjustments—the exposure, white balance, contrast, and sharpening—as a preset. Then, you can apply that preset to all the other photos from that session with a single click.
This guarantees every image has the same consistent look and feel, creating a cohesive and professional storefront. That consistency is what builds brand recognition and shopper confidence. With the global photography market valued at around $105.2 billion** and projected to hit **$161.8 billion by 2030, the demand for high-quality, consistent commercial imagery is only growing. You can dive deeper into the trends shaping the photography industry on brimco.io.
How to Price Your Product Photography Services
Alright, so you’ve gotten good at taking professional-looking product photos. Now for the tricky part: turning that skill into a business. This is where so many talented photographers get stuck. Without a smart pricing strategy, you’ll either leave money on the table or price yourself right out of the market. The sweet spot is a rate that reflects your actual skill, covers all your costs, and attracts the right kind of clients.
Let's ditch the guesswork. A bulletproof pricing structure starts with knowing exactly what it costs you to run your business. I'm talking about everything—your camera gear, editing software subscriptions like Adobe Lightroom, backdrops, props, and the biggest one of all: your time. Once you have a handle on your baseline costs, you can start building pricing models that actually make you a profit.
Finding the Right Pricing Model
There’s no one-size-fits-all answer here. The best way to charge really boils down to the project's scope and what your client actually needs. A small Etsy shop owner, for instance, will probably want a simple, predictable per-photo rate. On the other hand, a larger brand might be looking for a comprehensive day rate to capture a whole new product line.
Most photographers I know use one of these three models:
- Per-Photo Pricing: This is as straightforward as it gets. You charge a set price for each finished, edited image. It’s perfect for clients who know exactly what they want—say, 5 hero shots for a new product launch.
- Per-Product Pricing: This is my go-to for clients with a catalog of similar items. You charge a flat fee to shoot one product from a few standard angles. It makes quoting simple and efficient for everyone.
- Hourly or Day Rate: Save this for the big, complex jobs. Think lifestyle shoots with models, intricate prop styling, or on-location work where a simple photo count just doesn’t capture the full scope of the project.
Here's a reality check: a 2024 survey found that while 65%-77% of photographers saw their business costs go up, many didn't raise their prices to match. That's a direct path to burnout and an unprofitable business. You have to revisit your rates regularly to stay healthy.
Create Tiered Packages to Add Value
One of the best ways I’ve found to increase my average project value is by offering tiered packages. This approach gives clients clear choices and naturally opens the door for you to upsell them on more valuable services.
For example, your "Basic" package might just cover simple, clean shots on a white background. But a "Premium" tier could include stylized lifestyle photos, custom props, and high-end retouching. This structure makes clients feel like they're in control while guiding them toward more comprehensive (and profitable) options.
This isn't just my experience, either. The 2025 State of the Photography Industry report from ShootProof pointed out that photographers who diversify their services see higher revenues. You can find more details in their guide to business strategies for photographers on shootproof.com.
By truly understanding your costs, picking the right pricing model for the job, and building attractive packages, you can finally charge what you're worth with confidence. You’re not just a photographer; you're a professional business owner, and clients will respect that.
Answering Your Top Product Photography Questions
Even the best-laid plans hit a snag. It's totally normal. Let's walk through some of the most common questions and sticking points that come up when you're just getting started.
The first, and biggest, question I always get is, "Do I seriously need a fancy DSLR camera?" Honestly? No, you absolutely don't.
The camera on your smartphone right now is ridiculously powerful. The quality is more than good enough for your website, Etsy shop, or Instagram feed. The real secret isn't the camera—it’s how you control the light.
I'll say it again: a well-lit photo from your phone will beat a poorly-lit shot from a $3,000 camera every single time. Nail your lighting and composition first, then worry about gear later.
How on Earth Do I Photograph Shiny Stuff?
Ah, the classic challenge: shooting anything reflective. Jewelry, sunglasses, glassware, you name it. It can feel impossible to get a shot without your own reflection (or your whole room) staring back at you.
The trick is to control what the product reflects. Don't point your light source directly at the item—that’s just asking for a harsh, ugly glare. Instead, you need to bathe it in soft, diffused light.
This is where a simple lightbox or a couple of white foam boards from the dollar store become your best friends.
- Build a white "tent": Prop up white foam boards on either side of your product. You can even place one on top. This surrounds your shiny object with a clean, neutral surface to reflect.
- Bounce your light: Aim your light at the white boards or ceiling, not directly at the product. This makes the light bounce and scatter, wrapping around your item softly instead of hitting it like a spotlight.
- Adjust your angle: Sometimes, all it takes is shifting your camera an inch to the left or right to make an annoying reflection completely disappear. Experiment!
What Are the Best Camera Settings to Use?
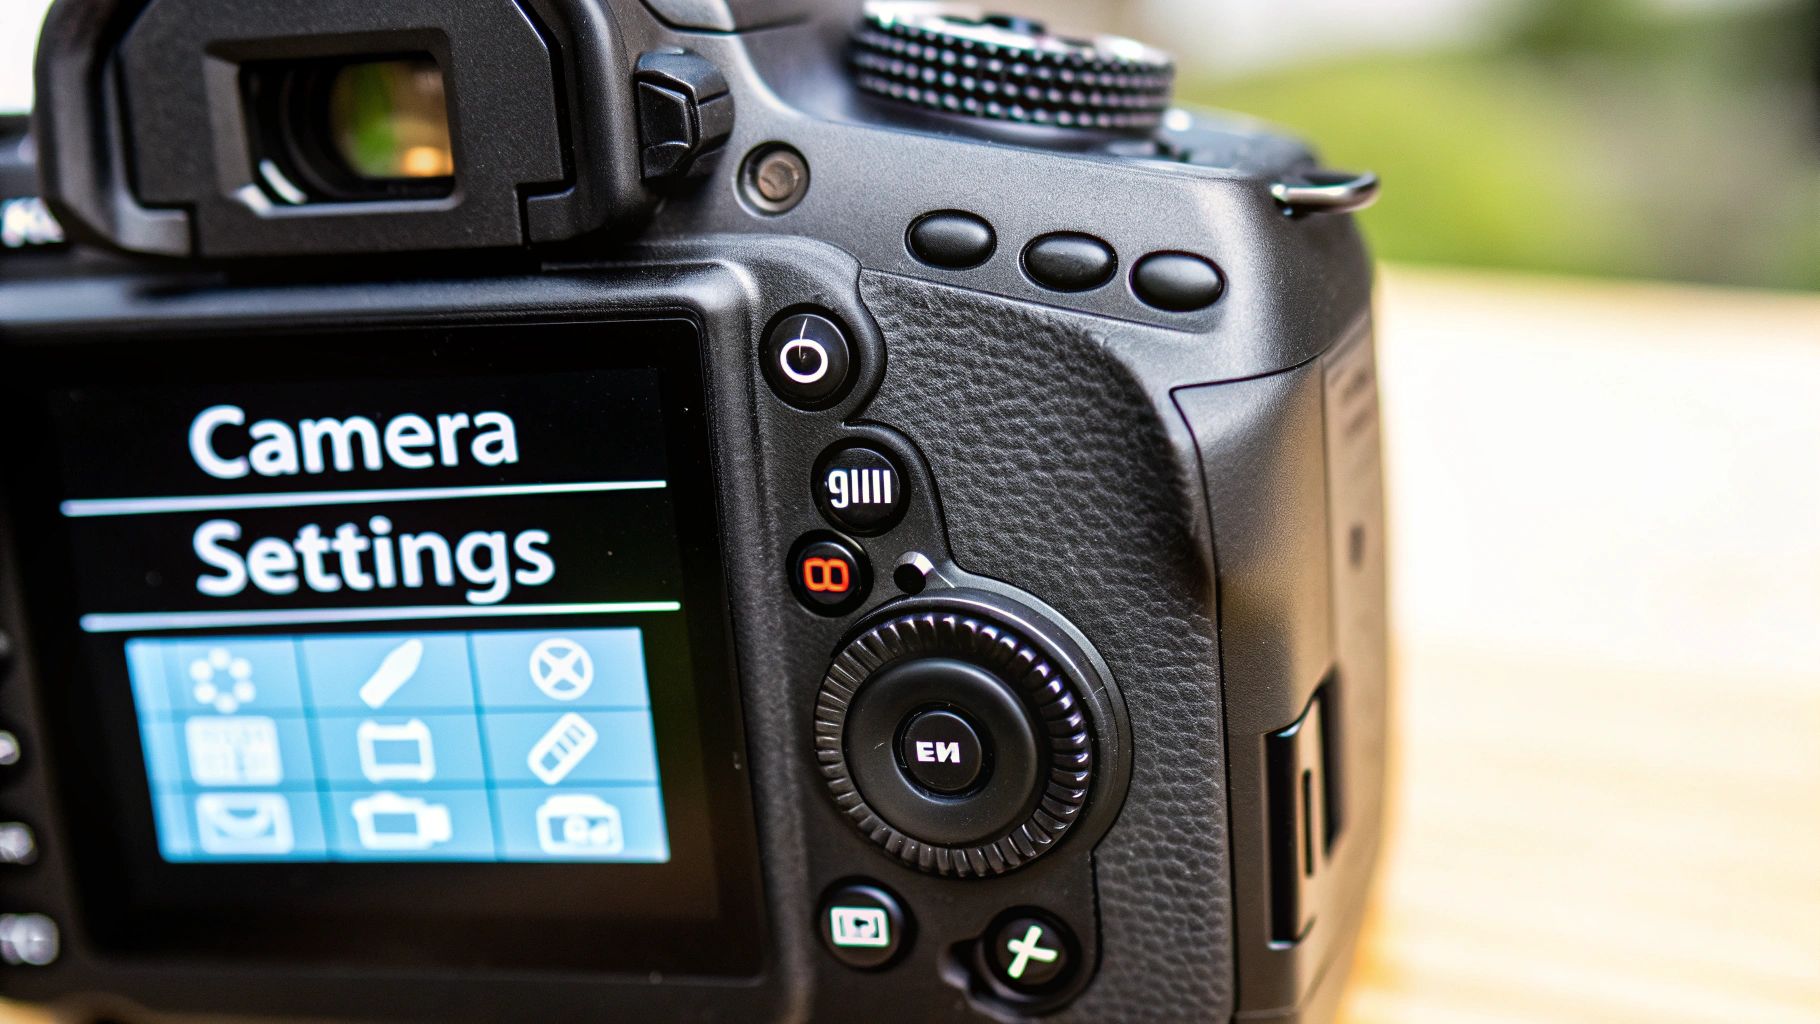
Every lighting setup is a little different, but there are a few core settings that will get you a great starting point for crisp, professional-looking product photos. If you're using a DSLR or a smartphone app with manual controls, dial these in.
First, set your ISO as low as it will go—usually 100 or 200. This prevents that ugly, grainy texture and keeps your images looking clean.
Next, you want a wider aperture (which means a higher f-stop number) like f/8 or f/11. This creates a deep depth of field, ensuring your entire product is in sharp focus from front to back.
Finally, adjust your shutter speed until the exposure looks right. Since your camera is on a tripod, you can use a slower speed without any risk of motion blur.
Tired of wrestling with lighting and editing? QuickPixel uses AI to transform your simple product snapshots into studio-quality images in under 48 hours. No studio, no stress—just professional results. Get your first 50 photos for just $49.
Try QuickPixel Today
Get started with our AI-powered image generation tools