Create Your Perfect DIY Product Photography Setup Today
A killer DIY product photography setup can be the one thing that turns a window shopper into a paying customer. It’s all about using what you have—your phone, a bright window, a simple backdrop—to create images that make people trust your brand and click "buy." You don't need a fancy studio to get professional results.
Why Better Product Photos Matter
In the sea of online stores, your product photos are doing the heavy lifting. Long before a customer reads your carefully crafted description, they’ve already formed an opinion based on your images. Strong, high-quality photos immediately signal that you’re a professional, building the trust needed to make a sale.
Just think about how you shop online. You’re naturally drawn to stores with crisp, well-lit, and consistent product shots. It’s because great photos don’t just show an item; they convey its quality, its value, and the pride you take in your business.
The True Impact of Quality Images
This isn't just a hunch; the numbers back it up. The global photography market is expected to jump from $105.2 billion in 2025 to a massive $161.8 billion by 2030, largely because online businesses need amazing visuals to compete. For small brands, this is huge. Creative, authentic images can actually boost conversion rates by up to 30%. If you want to dig deeper, you can explore more photography industry statistics that show where things are headed.
Putting a little effort into a solid DIY product photography setup isn't just for looks—it’s a direct investment in your business. It helps you hit some major goals:
- Builds Instant Trust: Good photos make your brand feel legitimate and trustworthy right off the bat.
- Reduces Hesitation: When customers can clearly see details like size, texture, and quality, they feel more confident buying.
- Sets You Apart: In a crowded market, fantastic photos can be the single thing that makes a customer choose you over a competitor.
Here's the secret: great photos come from great technique, not expensive gear. Knowing how to shape light and frame a shot will always beat having a pricey camera with no plan. That’s the entire philosophy behind this guide.
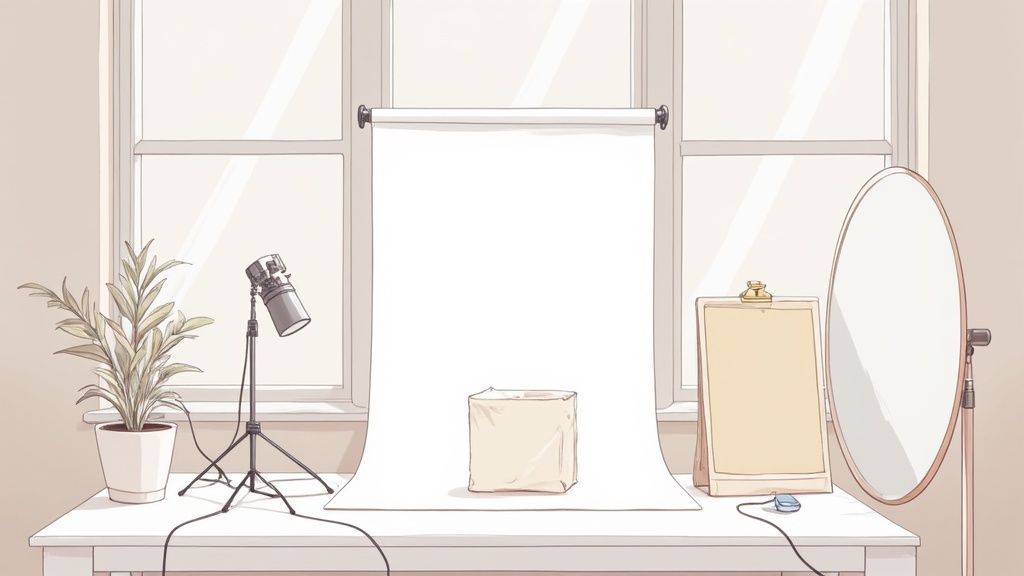
Assembling Your Gear Without Overspending
Building a great DIY product photography setup doesn't mean you have to raid your savings or rent a studio. Honestly, you can pull off some seriously professional-looking shots with gear that's both affordable and easy to find. My goal here is to cut through the noise and show you exactly how to build a killer kit for well under $100.
First things first: the camera. Let's be real, the best camera is probably the one in your pocket right now. Modern smartphones pack an incredible punch and can capture beautiful, high-resolution images. The trick isn't buying a new camera—it's learning how to unlock your phone's potential with a few smart accessories.
The Non-Negotiable Essentials
To get those sharp, consistent images that make products fly off the virtual shelves, a couple of items are absolutely essential. A tripod is at the top of that list. Even if you think you have hands of stone, the slightest movement can introduce blur, especially when you're not working with bright studio lights. A simple tripod with a phone mount, which you can snag for about $25, completely solves this problem. It also locks in your angle, making sure every product in your line looks consistent—a huge plus for a polished online store.
Next up is a remote shutter. This little gadget is a game-changer and usually costs less than $10. Every time you tap your phone's screen to take a picture, you're creating a tiny vibration. A remote shutter lets you snap the photo without touching the phone at all, guaranteeing a perfectly crisp shot every single time.
You don’t need a DSLR to start. The secret to professional results isn't the camera itself, but your control over the environment. A stable camera, clean lighting, and a simple background are what truly make a difference.
To make it even clearer, let's break down what's a must-have versus what's a nice-to-have when you're just starting out.
Essential vs Optional DIY Photography Gear
| Gear Category | Essential Item (Budget Option) | Optional Upgrade | Why It Matters |
|---|---|---|---|
| Stability | Smartphone Tripod (~$25) | GorillaPod or C-Stand | Eliminates camera shake for sharp, professional photos and ensures consistent framing. |
| Trigger | Bluetooth Remote Shutter (~$10) | Camera Timer App | Prevents the subtle blur caused by tapping your phone screen to take a picture. |
| Lighting | Window (Natural Light) or Clamp Lights (~$30) | Entry-Level LED Panels | Good lighting is everything. It defines the product's shape, texture, and color accurately. |
| Background | White Poster Board (~$5) | Seamless Paper Roll or Vinyl Backdrop | A clean, non-distracting background keeps the focus entirely on your product. |
This table should give you a clear shopping list. Start with the essentials, and you'll be amazed at the quality you can achieve. You can always add the optional upgrades later as your business grows.
Smart and Affordable Lighting Choices
Lighting is where the magic really happens, and thankfully, you can get creative here without breaking the bank. Forget about expensive pro-level softboxes for now. These budget-friendly options work wonders:
- Clamp Lights: Pop over to any hardware store and pick up two basic clamp lights. Pair them with daylight-balanced LED bulbs (look for a color temperature of 5000K-5600K on the box), and you’ve got a powerful, versatile lighting setup for around $30.
- Entry-Level LED Panels: If you want a bit more control, small LED panels are a fantastic step up. They give you a soft, even light and often come with adjustable brightness, which is incredibly useful.
- Natural Light: Don't underestimate the power of the sun! A large window with indirect sunlight (meaning the sun isn't shining straight through it) provides a beautiful, soft light that's perfect for almost any product. And the best part? It's completely free.
This infographic gives a quick visual rundown of how these different light sources stack up.
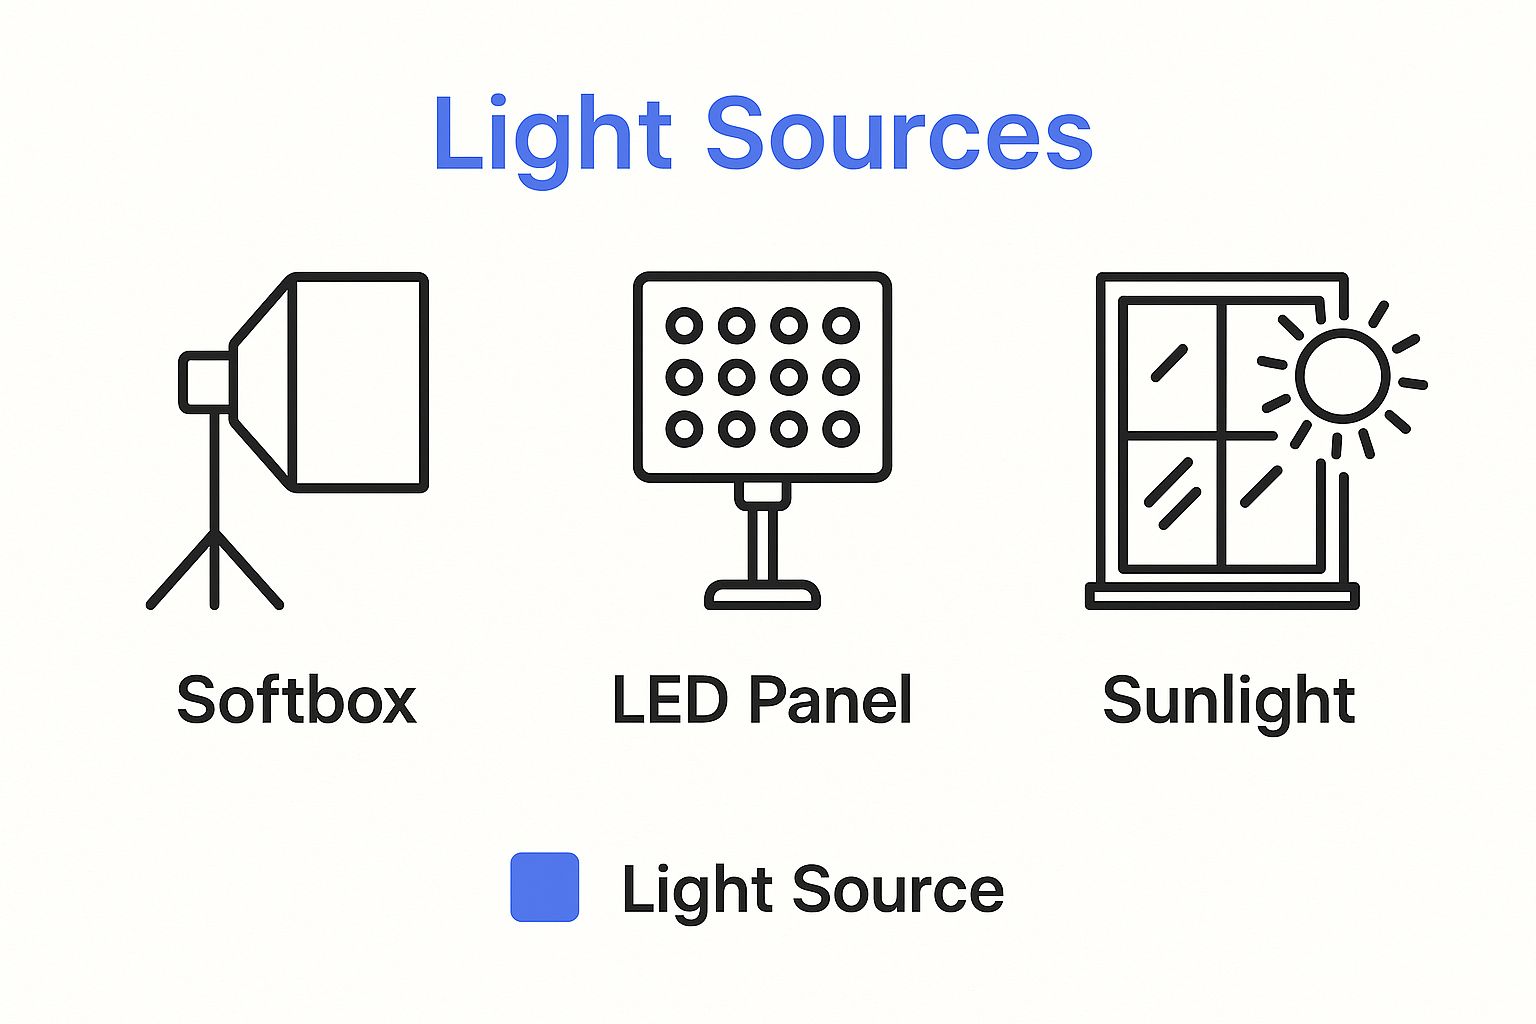
The main takeaway here is that you're not locked into one option. Whether you're using free sunlight or a couple of cheap clamp lights, you have everything you need to produce fantastic results.
Mastering Light on a Budget
If your camera is the heart of your DIY product photography setup, then lighting is its soul. It's the one thing that can make an ordinary product look stunning, or a luxury item look cheap. But don’t worry, you don’t need a studio full of expensive strobes to get it right. It’s all about learning to see and shape the light you already have.
Your best, and most affordable, light source is probably right in your living room: a window. Professional photographers swear by natural, indirect daylight because it’s soft, diffused, and incredibly flattering. It wraps around objects beautifully, creating gentle shadows that add depth without being harsh.
To get started, take your product on a tour of your house at different times of the day. Pay attention to how the light changes. You might find a north-facing window offers cool, consistent light all day, while an east-facing one is perfect from mid-morning to early afternoon. The goal is to find a spot with plenty of bright, indirect light.
Working with Natural Window Light
The golden rule here is to avoid direct sunlight like the plague. It creates harsh, dark shadows and blown-out "hot spots" that kill detail and wash out colors. What you're really after is that bright-but-soft light you see on a slightly overcast day, or from a window that isn't getting hit directly by the sun.
Once you’ve found the perfect spot, you can start shaping that light.
- Position your table. Set up your shooting surface at a 45-degree or 90-degree angle to the window. This isn't random—it allows the light to hit one side of your product, creating those pleasing, natural shadows that make an object look three-dimensional.
- Diffuse if necessary. Is the light still a little too intense? No problem. Hang a thin white sheet, a piece of parchment paper, or a sheer curtain over the window. This instantly turns your window into a giant softbox, scattering the light and making it even softer.
- Kill the other lights. This is a classic beginner mistake. Mixing the cool-toned daylight from your window with the warm, yellow-toned light from your indoor lamps will throw off your camera's white balance, resulting in a weird, unnatural color cast on your photos. Turn them all off.
Sculpting Light with Reflectors
With your main light source in place, the next step is to manage the shadows. This is where the magic happens and where you can really make your product pop. And you don't need another lamp to do it. All you need is some cheap foam board.
The most powerful lighting tool in a DIY setup isn't another lamp—it's a simple piece of white foam board. It allows you to bounce and fill light with precision, effectively giving you a two-light setup for the price of one.
A white foam board is your reflector. Place it on the opposite side of your product from the window, and watch as it bounces light back into the shadows. This "fills" them in, making them softer and revealing more detail. The closer you move the board, the brighter and softer those shadows become.
On the flip side, a black foam board does the exact opposite—it absorbs light. Placing a black board on the shadow side makes the shadows deeper and more dramatic. This is a great trick for creating contrast, making a white product stand out on a white background, or just giving your shot a moodier, high-end vibe.
By simply moving these two pieces of foam board around, you gain an incredible amount of control over the final look. You can create a signature lighting style for all your products, all without spending a fortune.
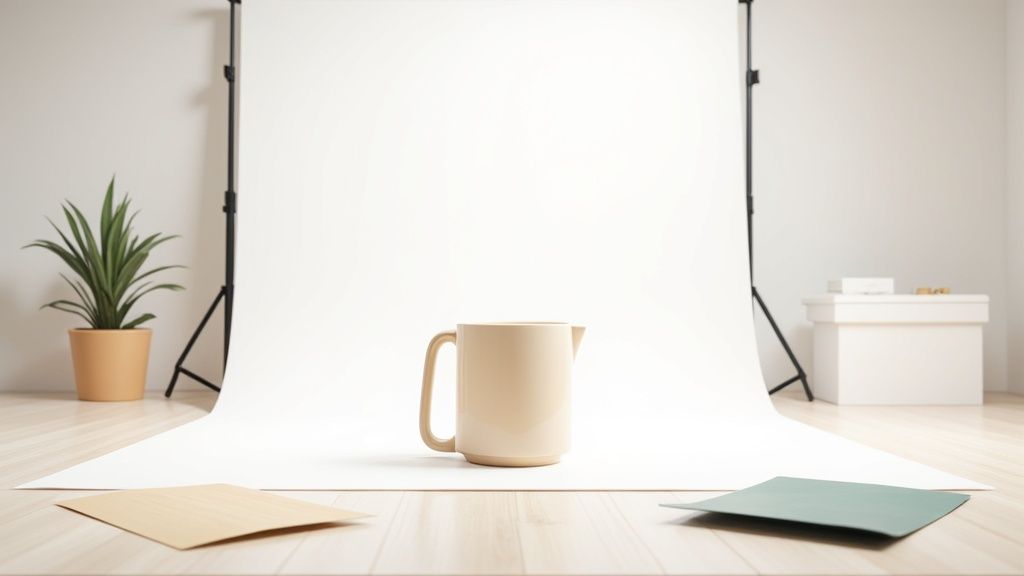
Setting the Stage: Your Background Matters
Think of your background as the stage for your product. It’s not just the empty space behind your item; it's what makes that item the star of the show. A busy, cluttered background can instantly make a great product look cheap. On the other hand, a clean, simple backdrop tells customers you're a pro and keeps their eyes locked on what you're selling.
The good news is you don't need a fancy studio to pull this off. You can get that high-end look using stuff you probably already have lying around, or with a quick trip to a local craft store. Let's dive into a couple of go-to options.
The Go-To Classic: An Infinity Sweep
Ever see those product shots on Amazon where the item seems to be floating in a clean, white space? That’s done with an infinity sweep. It's a simple trick that creates a seamless background, getting rid of any distracting lines or corners where the table meets the wall.
It's ridiculously easy to set up. Grab a big piece of white poster board or a roll of paper. Tape the top edge to a wall (or even the back of a tall chair) and let the rest of it curve down and forward onto your table. That gentle curve is the magic—it eliminates the harsh horizon line and gives you that endless, professional void.
The infinity sweep is the workhorse of e-commerce photography, and for good reason. It’s cheap, it's fast, and it instantly makes your photos look more polished and trustworthy.
Getting Creative with Textures and Color
A clean white background is perfect for your main product listings, but don't stop there. Especially when you're shooting for social media or marketing materials, playing with different backgrounds can add a ton of personality and context.
Here are a few of my favorite budget-friendly tricks:
- Vinyl Contact Paper: This stuff is a game-changer. You can find rolls that look exactly like marble, rustic wood, or polished concrete. Just stick it onto a piece of foam board, and you've got a portable, lightweight, and surprisingly realistic-looking surface.
- Fabric Scraps: A piece of linen can give a rustic, earthy vibe, while velvet can feel luxurious. The key is to make sure it's completely wrinkle-free—grab an iron or a steamer, because every little crease will show up in the final photo and scream "amateur."
- Natural Elements: Sometimes the best backdrops aren't man-made. I've used slate tiles from the hardware store, weathered wooden planks, and even clean slabs of concrete to add beautiful, authentic texture that feels both premium and grounded.
This approach of using natural materials also ties into a bigger picture. Many brands are shifting toward more sustainable practices, and that can extend to photography. Using biodegradable backdrops or natural elements can subtly communicate that your brand is eco-conscious, which can really resonate with customers. You can read more about these kinds of product photography trends on colorexpertsbd.com.
Whatever you choose, the golden rule is to make sure the background supports your product, not competes with it. If you're selling vibrant, colorful jewelry, a neutral backdrop is your best bet. If your product is minimalist and white, a textured gray background or a dark wood could provide some beautiful contrast. Always step back and ask, "Does this make my product look better, or is it stealing the spotlight?"
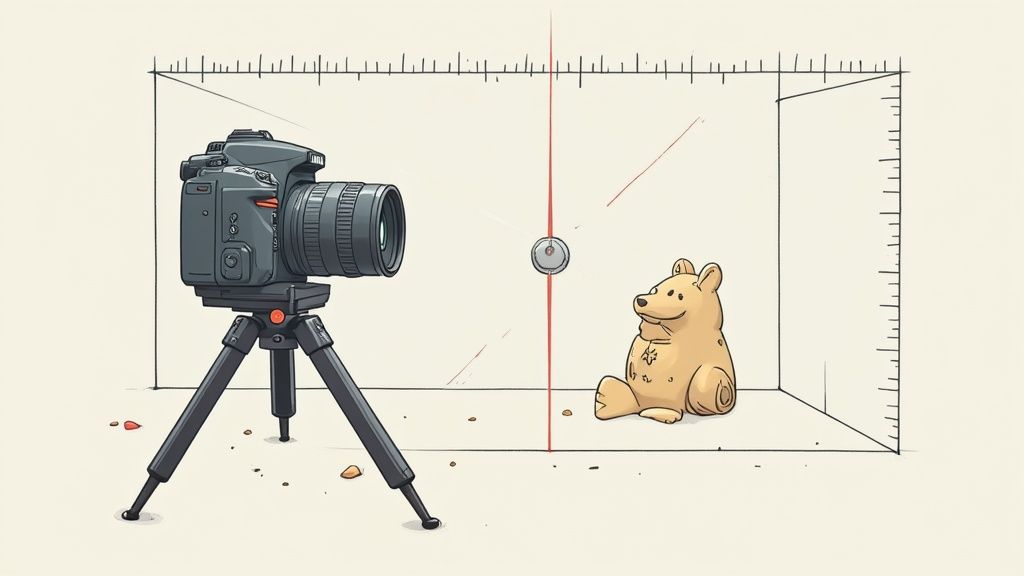
Dialing In Your Camera for Crystal-Clear Photos
So, you've got your DIY product photography setup all put together. That's a huge step! But even the best lighting and cleanest backdrop can be undone by the wrong camera settings. This is where we separate the blurry, amateur snapshots from the crisp, professional images that actually drive sales.
Whether you're working with a DSLR or just your smartphone, a few tweaks to the settings will make a world of difference. We're going to break down the "exposure triangle"—aperture, ISO, and shutter speed—and turn that technical jargon into simple, practical steps for getting the perfect shot. Think of these three as a balancing act, all controlling how much light makes it to your camera's sensor.
Mastering the Exposure Triangle
First on the list is ISO. This is all about your camera's sensitivity to light. For product photography, your mantra should be "keep it low." You'll want to set your ISO as low as it can go, which is usually ISO 100 or 200. Why? A low ISO gives you the cleanest, most detailed images possible, with zero of that grainy "noise" that can make a photo look cheap.
Next up is aperture, which you'll see measured in f-stops (like f/8 or f/16). Aperture controls the depth of field, which is just a fancy way of saying how much of your image is in sharp focus. For most products, the goal is to have the entire thing sharp, from the front edge to the back. To achieve that, you'll need a larger f-stop number, like f/11 or even f/16.
A classic beginner mistake is using a really low f-stop (like f/1.8) to get that blurry background effect. It can look cool for portraits, but for e-commerce, it often leaves parts of your product soft or out of focus. When you're selling something, clarity is everything. A higher f-stop is almost always the right call.
Finally, we have shutter speed. This setting dictates how long your camera's shutter stays open to let light in. Since you’re using a tripod (and you absolutely should be!), you don’t have to worry about shaky hands causing blur. This frees you up to use a slower shutter speed. Tweak this setting last, after your ISO and aperture are locked in, to dial in the perfect brightness for your photo.
Settings for Smartphone Shooters
No DSLR? No problem. The smartphone in your pocket is a surprisingly powerful tool for product photography. The secret is to stop letting it make all the decisions on its own. Automatic mode is great for quick snaps, but it's not your friend here.
Most default camera apps give you some basic manual control. Just tap on your product on the screen and hold your finger there for a second. You should see a box appear, locking the focus and exposure. From there, you can usually slide your finger up or down to adjust the brightness. This one simple move stops the camera from randomly changing its mind mid-shoot.
If you want to take it a step further, look into a third-party camera app. Many of them unlock full manual controls, giving you the power to set ISO, shutter speed, and white balance just like you would on a big camera.
A few quick tips for your phone:
- Lock that focus. Your product needs to be the sharpest thing in the frame, period.
- Adjust brightness yourself. Don't let the phone's auto-exposure over or under-expose your shot.
- Turn on the gridlines. This is a lifesaver for making sure your product is perfectly centered and your lines are straight.
Taking a minute to get these settings right is the final piece of the puzzle. It’s what ensures every photo comes out sharp, clean, and perfectly lit. For a more detailed look at the entire process from start to finish, check out our complete guide on how to take professional product photos.
Wrestling with Common DIY Setup Problems
So, you've got your DIY setup put together, but things aren't quite clicking. That's completely normal. Getting great product shots, especially when you're just starting out, often means hitting a few snags. Let's walk through some of the most common issues people face and how to solve them.
Reflections are probably the number one headache. If you’re shooting anything with a sheen—think jewelry, glassware, or even glossy packaging—you know the struggle. The trick isn't to kill the light but to make it massive and soft. Instead of aiming a small, harsh light directly at your product, try bouncing it off a big piece of white foam board. This creates a large, diffused light source that wraps around your item, softening those distracting glares into gentle highlights.
Another pro move is to create a little "tent" with white boards around your product. This surrounds it with soft, even light, cutting down on sharp reflections from every angle. From there, it’s a game of inches—making tiny tweaks to your camera position and light angles until that reflection is either gone or falls on an less obtrusive part of the product.
What’s the Best (and Cheapest) Light I Can Get?
This is the golden question, and thankfully, the answer is simple: the sun. You can't beat the quality of natural, indirect daylight. Position your setup near a window on a day with some light cloud cover, and you'll get this beautiful, soft light that makes products look incredible. And the best part? It's 100% free.
Of course, the sun isn't always reliable. For a dependable and cheap artificial option, my go-to is a single, powerful LED bulb. Look for one with a "daylight" color temperature, somewhere in the 5000K-5600K range. Pop that into a simple clamp lamp from any hardware store, and you have a consistent, clean light source for next to nothing.
The real secret sauce is pairing that single lamp with a white foam core board. Position the board on the opposite side of your product to act as a reflector, bouncing light back to fill in the dark shadows. This little trick gives you the look of a two-light setup for the price of one.
Can I Really Just Use My Smartphone?
I get asked this all the time, and my answer is always a firm "absolutely!" The cameras in today's smartphones are fantastic, but the camera itself isn't the most important part of the equation. What truly matters is your control over the entire environment.
Once you put your phone on a tripod, dial in your lighting, and set up a clean background, you're 90% of the way there. A few basic edits later, and your smartphone shots can absolutely hold their own against a DSLR, especially for web use like on an e-commerce site or social media.
For that extra bit of control, I highly recommend using a camera app that gives you manual settings. Being able to lock in your focus, ISO, and white balance turns your phone from a simple point-and-shoot into a genuinely powerful photography tool.
Ready to skip the setup and get straight to stunning images? QuickPixel uses AI to transform your simple product photos into studio-quality shots, no gear required. Get your professional product photos today.
Try QuickPixel Today
Get started with our AI-powered image generation tools